Hello! 🖖
My name is Emanuele Colombo. I am a professional motion designer from Italy. I appreciate your interest in learning more about my job!
Below, you will find some relevant projects I have worked on in recent years. For each of them, I have tried to provide additional details to give you an idea of my creative process, how I tackle large and complex projects, my approach to projects that involve collaboration with multidisciplinary teams, and how I address challenges that arise during the projects.
I hope you enjoy them!
Emanuele
Motion Secrets
An advanced motion design course
In 2020, I had the privilege of collaborating with the Motion Design School team, the leading online school in the field, to develop an 8-hour long intermediate to advanced course in motion design. The main goal of the course was to equip students with the tools necessary to enhance their animation skills to an advanced level.
During the course creation process, I was involved in various aspects, collaborating with different professionals at Motion Design School: from identifying the target audience and defining the course scope in collaboration with the CEO, to designing exercises and recording the actual lessons with their motion designer team, and creating promotional materials with the marketing team.
Below are some details about how we tackled the challenges we encountered.
1. Identify the target audience and define course scope
As a first step, I collaborated with the Motion Design School CEO to examine insights from previous sales and the feedback they received. We recognized that regardless of students’ expertise levels, they were seeking some cool tricks to enhance the visual appeal of their work, rather than solely tutorials on how After Effects functions.
With this insight, we chose to focus on applying animation principles in After Effects rather than solely teaching the software. This decision widened our potential audience, making the course suitable for anyone with basic knowledge of After Effects, whether a beginner or a professional.
As a very first step, we assembled a preliminary content outline that we used as a foundation for building the course.
- Explanation of Animation Principles
- Applying Animation Principles in After Effects
- Bringing Basic Shapes to Life
- Fundamentals of Character Animation
- Introduction to Simple Transitions
- Delving into Advanced Transitions
2. Establishing a Distinct Identity
Once the course’s main focus was defined, I worked on crafting the overall aesthetic. While I had experience across various styles and formats, I had gradually developed a distinct and recognizable style over time. This style had become synonymous with my presence on social media platforms. Opting for this style was a deliberate choice, I thought using a style that was instantly recognizable by fellow motion designers would have helped give momentum to the course.
3. Fostering Engagement through Effective Exercises
Many of the students at Motion Design School were not yet professionals or were at the beginning of their careers. For them, having tangible results at the end of the course to showcase in their portfolios or on social media was crucial.
With this in mind, I created exercises that explained concepts clearly while also being enjoyable and shareable for students. Additionally, these exercises were designed as integral parts of a narrative, progressing from applying principles to simple shapes, advancing to character animation, and culminating in executing intricate transitions. The goal was to make the students feel like they were on a journey, progressing from almost zero to hero.
4. Managing an Extensive Project
Developing an 8-hour course is way more complex than it seems. This duration translated into a significant amount of content creation time and required a well-defined workflow.
We started from the original outline and proceeded to expand each individual point into a more detailed index, and then I wrote the actual content for each of the identified points. The editorial team at Motion Design School assisted in identifying any mistakes.
Following that, I recorded my voice and used Screenflow to capture my screen while creating the exercises. These two tasks were done separately, and then one of my collaborators edited the entire content in After Effects. Once a lesson was ready, the Motion Design School team reviewed everything for accuracy and provided feedback.
As a final step, they handled creating subtitle files and adding on-screen lower-thirds for shortcuts and other useful tips or commentary about my on-screen actions.
5. Creating Memorable Promotional Material
While Motion Design School managed social media ads, I took on the responsibility of creating the actual video trailer. Instead of merely appearing in the video and explaining the course, I believed it would be more effective to demonstrate my skills to show prospective students what they could learn by taking the course.
I dedicated efforts to seamlessly weave the course’s key elements together, resulting in a compelling storyline that portrayed the course as a transformative journey, progressing from foundational principles to complex transitions. To this day, I consider this trailer one of my best projects.
Two years after its launch, with over 2000 copies sold, the course has emerged as one of Motion Design School’s most successful offerings, setting a standard for individuals entering the motion design field.
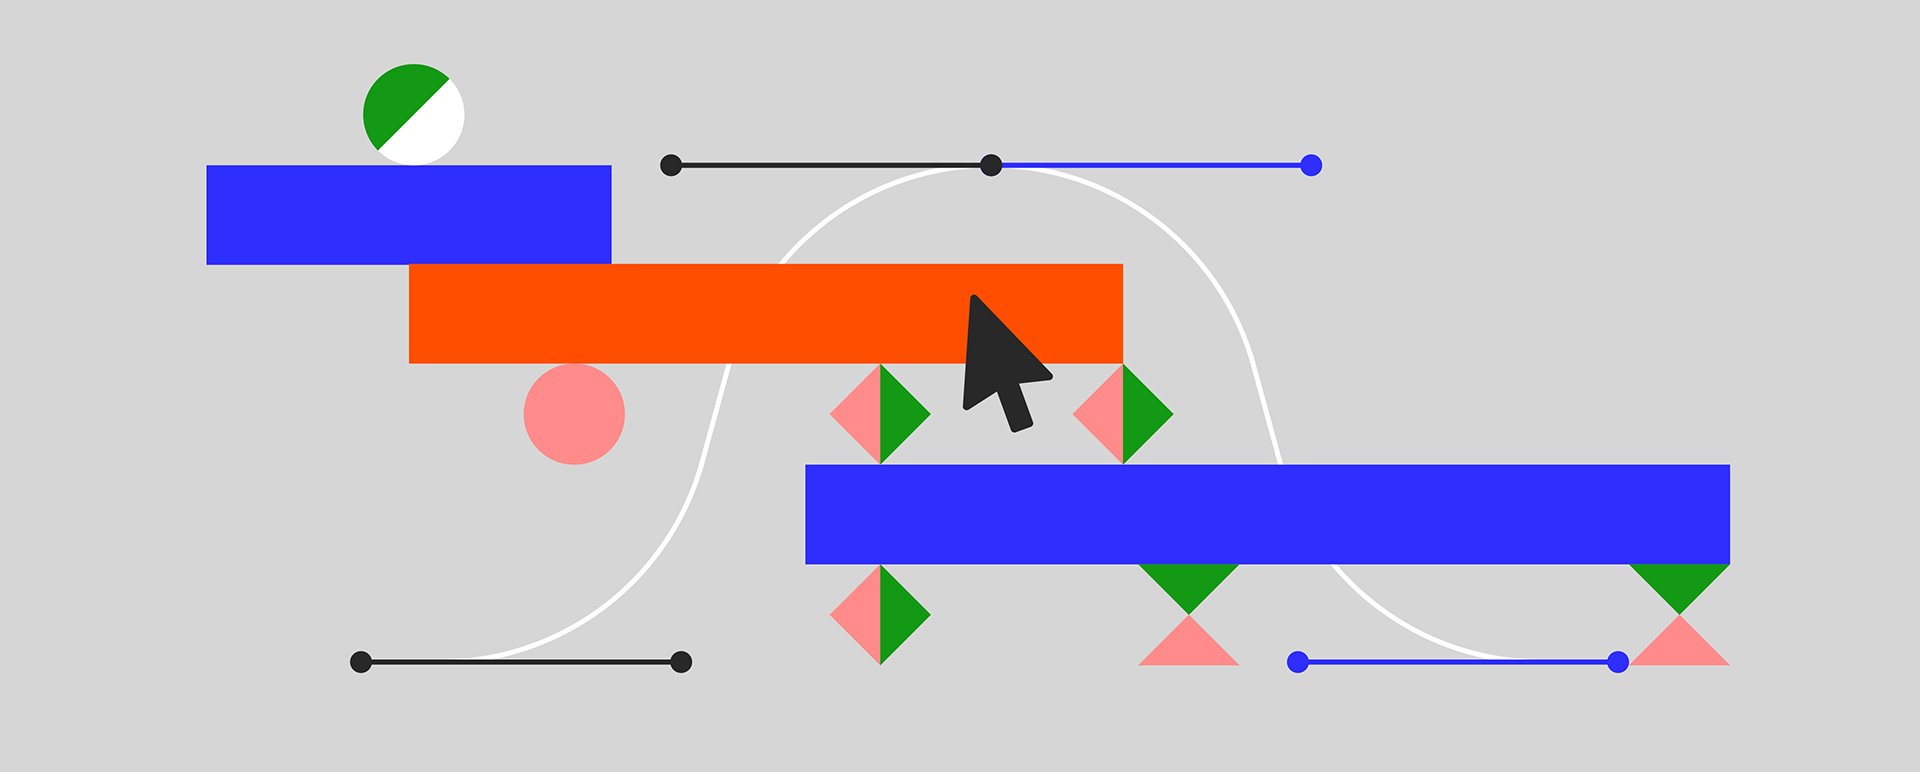
Youtube Doodles
On numerous occasions, I’ve had the privilege of collaborating with YouTube in crafting captivating doodles. Each of these doodles has brought forth different challenges, ranging from sculpting an illustrative style that remains coherent even at low resolutions, to weaving a compelling narrative capable of recounting a tale within mere seconds.
I’d like to delve into a specific doodle we crafted for E3, the renowned video game expo.
1. Navigating Copyright Constraints
This particular doodle revolves around the realm of video games, yet to sidestep copyright entanglements, we refrained from depicting iconic games like Pac-Man or Tetris.
Instead, we embarked on a journey of design exploration, seeking aesthetics reminiscent of 1980s arcade games without explicitly referencing any specific titles. Collaborating closely with the Art Director, his invaluable insights guided me in maintaining an on-brand design.

2. Crafting a Tale within 4 Seconds
Doodles, by nature, are fleeting, lasting mere moments. A pivotal aspect of this challenge lay in conjuring an entire world and narrative within a few seconds.
To achieve this feat, I chose to play with seamless transitions, propelling us through a trilogy of video games: from a classic jump-and-run adventure, traversing into the cosmic expanse of a space-themed game, and culminating in a riveting beat ’em up à la Street Fighter.
3. Mastering Low-Resolution Animation
While animating, I really enjoy refining even the smaller details. I am a pixel-perfectionist. Nevertheless, in this case, the final output was confined to a minuscule pixel count. As I animated, I engineered the motion to function on multiple tiers – captivating at larger scales while remaining readable in smaller formats. The art of zooming in and out became a close companion throughout this process.
4. Evading Explicit Imagery
The doodle concludes with characters engaging in a “beat ’em up” style showdown.
In order to avoid showing any form of graphic violence, the rapid movement of the character hitting the opponent is used as a seamless transition that leads us to the YouTube logo. This allows us to “feel” the hit, without actually seeing it.
I then created a “Director’s cut” version for my portfolio where I left the uncensored sequence uncut in order to make the finale more epic (and trying to impress the motion community with my animation skills).
Google Vaccine Campaign 2021
In 2021, amid the pandemic, I had the unique opportunity to engage in a YouTube and various European health ministries campaign while I was working as Art Director and Motion Design Lead at Antimatter.
I have been involved in various stages of the project, from giving my contribution to the script of the video, to defining a design concept and the artistic direction with Youtube’s design team, to coordinating Antimatter animators during the production phase.
Given the multitude of stakeholders involved and the sensitivity of the subject matter, it undoubtedly stands as the most ambitious project I’ve ever undertaken in terms of organization and scope.
1. Setting the right tone
As an initial step, we held several meetings with the YouTube team to delve deeply into the project’s brief. The goal was to address the four most prevalent questions regarding the ongoing vaccination campaign.
From the beginning, it was clear that the first two problems to solve were:
- What tone of voice should be used for the script?
- How should we represent the virus and the vaccination process?
We decided to approach both of these aspects in tandem. On one side, I collaborated with Eugenio, Antimatter’s Creative Director, to draft a preliminary script. We aimed to maintain a light tone of voice and employed metaphors to make the video more relatable.
On the other hand, I worked with Federica, one of Antimatter’s illustrators, to find a visual approach to represent the COVID virus and the vaccination process.
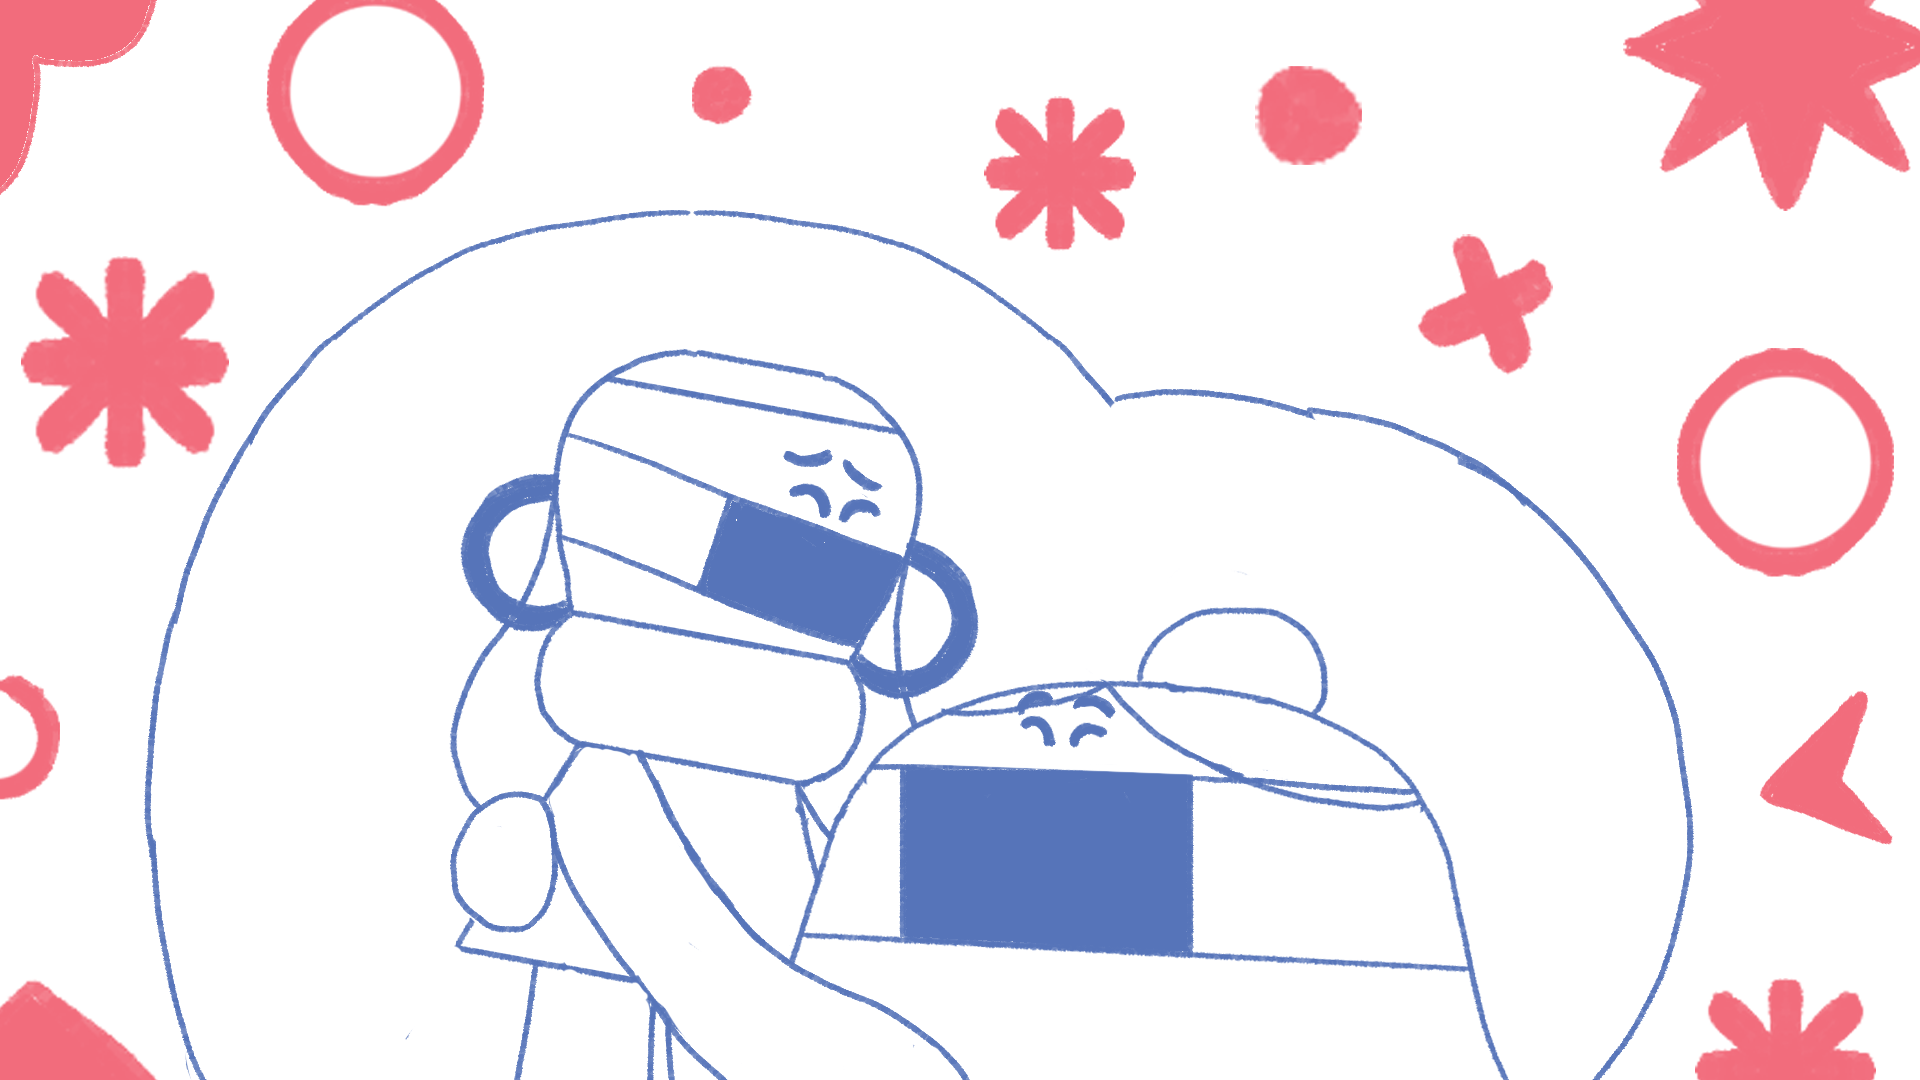
Viruses, illnesses, injections – these are all unsettling topics that needed to be presented in a pleasant manner. To address this, we proposed depicting COVID as geometric shapes surrounding the characters, while the vaccine assumed the form of an invisible shield, protecting them from this pattern.
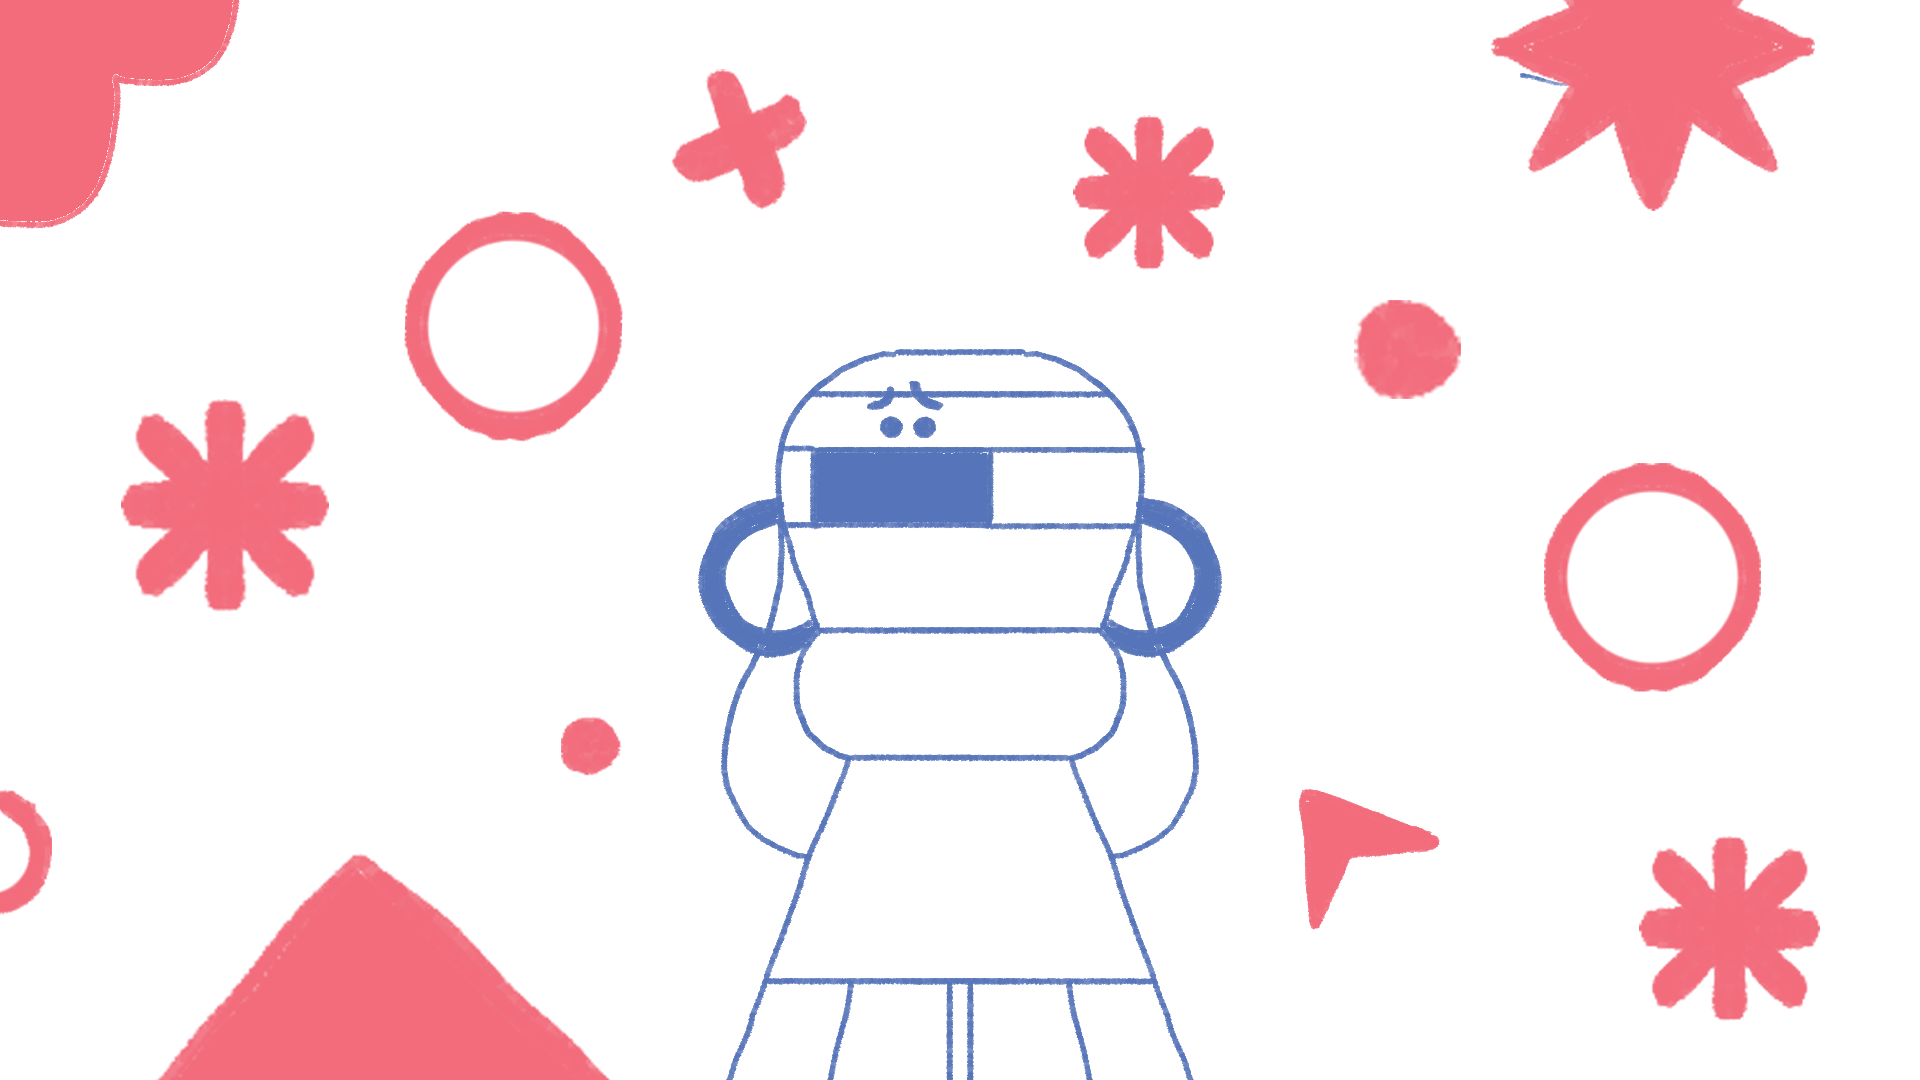
We combined these two elements and presented an initial rough storyboard/animatic to the client.
The client appreciated the concept, giving us an immediate sign-off on the initial design, and simply asking us to display the questions inside a search bar instead of a magnifying glass.
As for the script, we spent some more time collaborating as there were changes in direction regarding which questions to include in the video. In general, they asked us to make the script more scientifically accurate, avoiding the use of metaphors. Additionally, they provided specific feedback on certain scenes (i.e. avoiding showing the girl hugging the grandmother).
2. Crafting the design
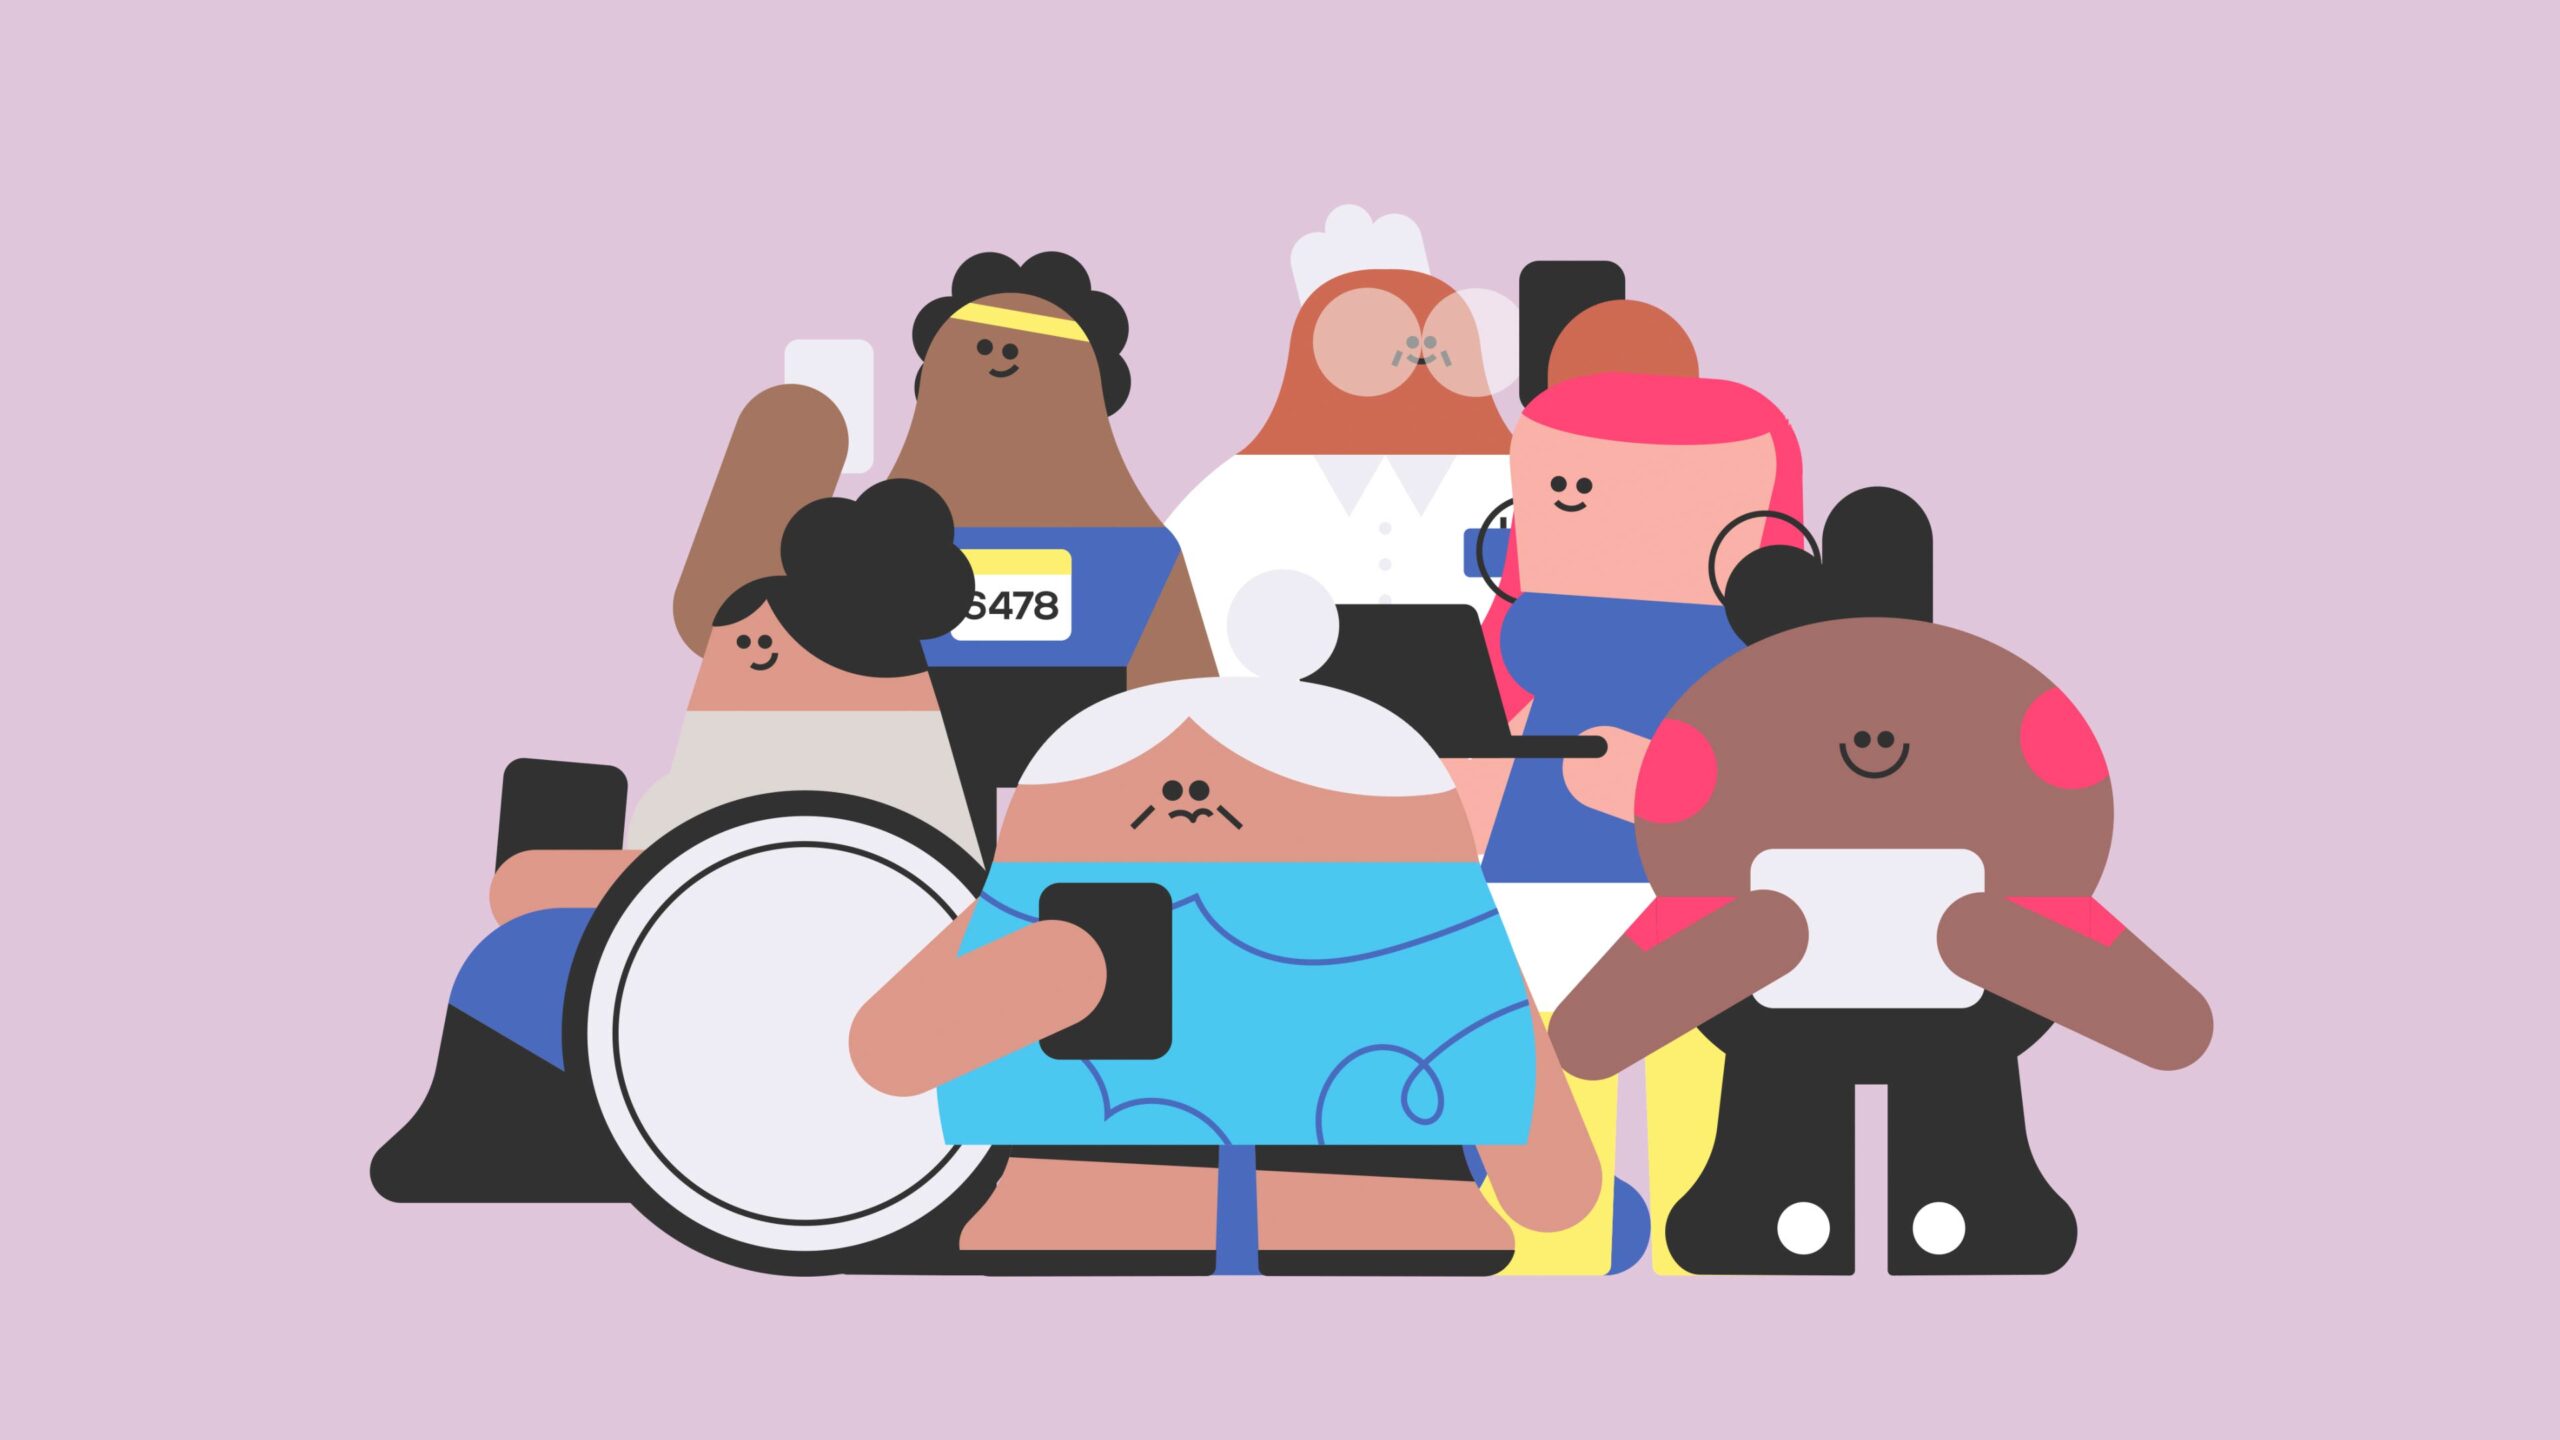
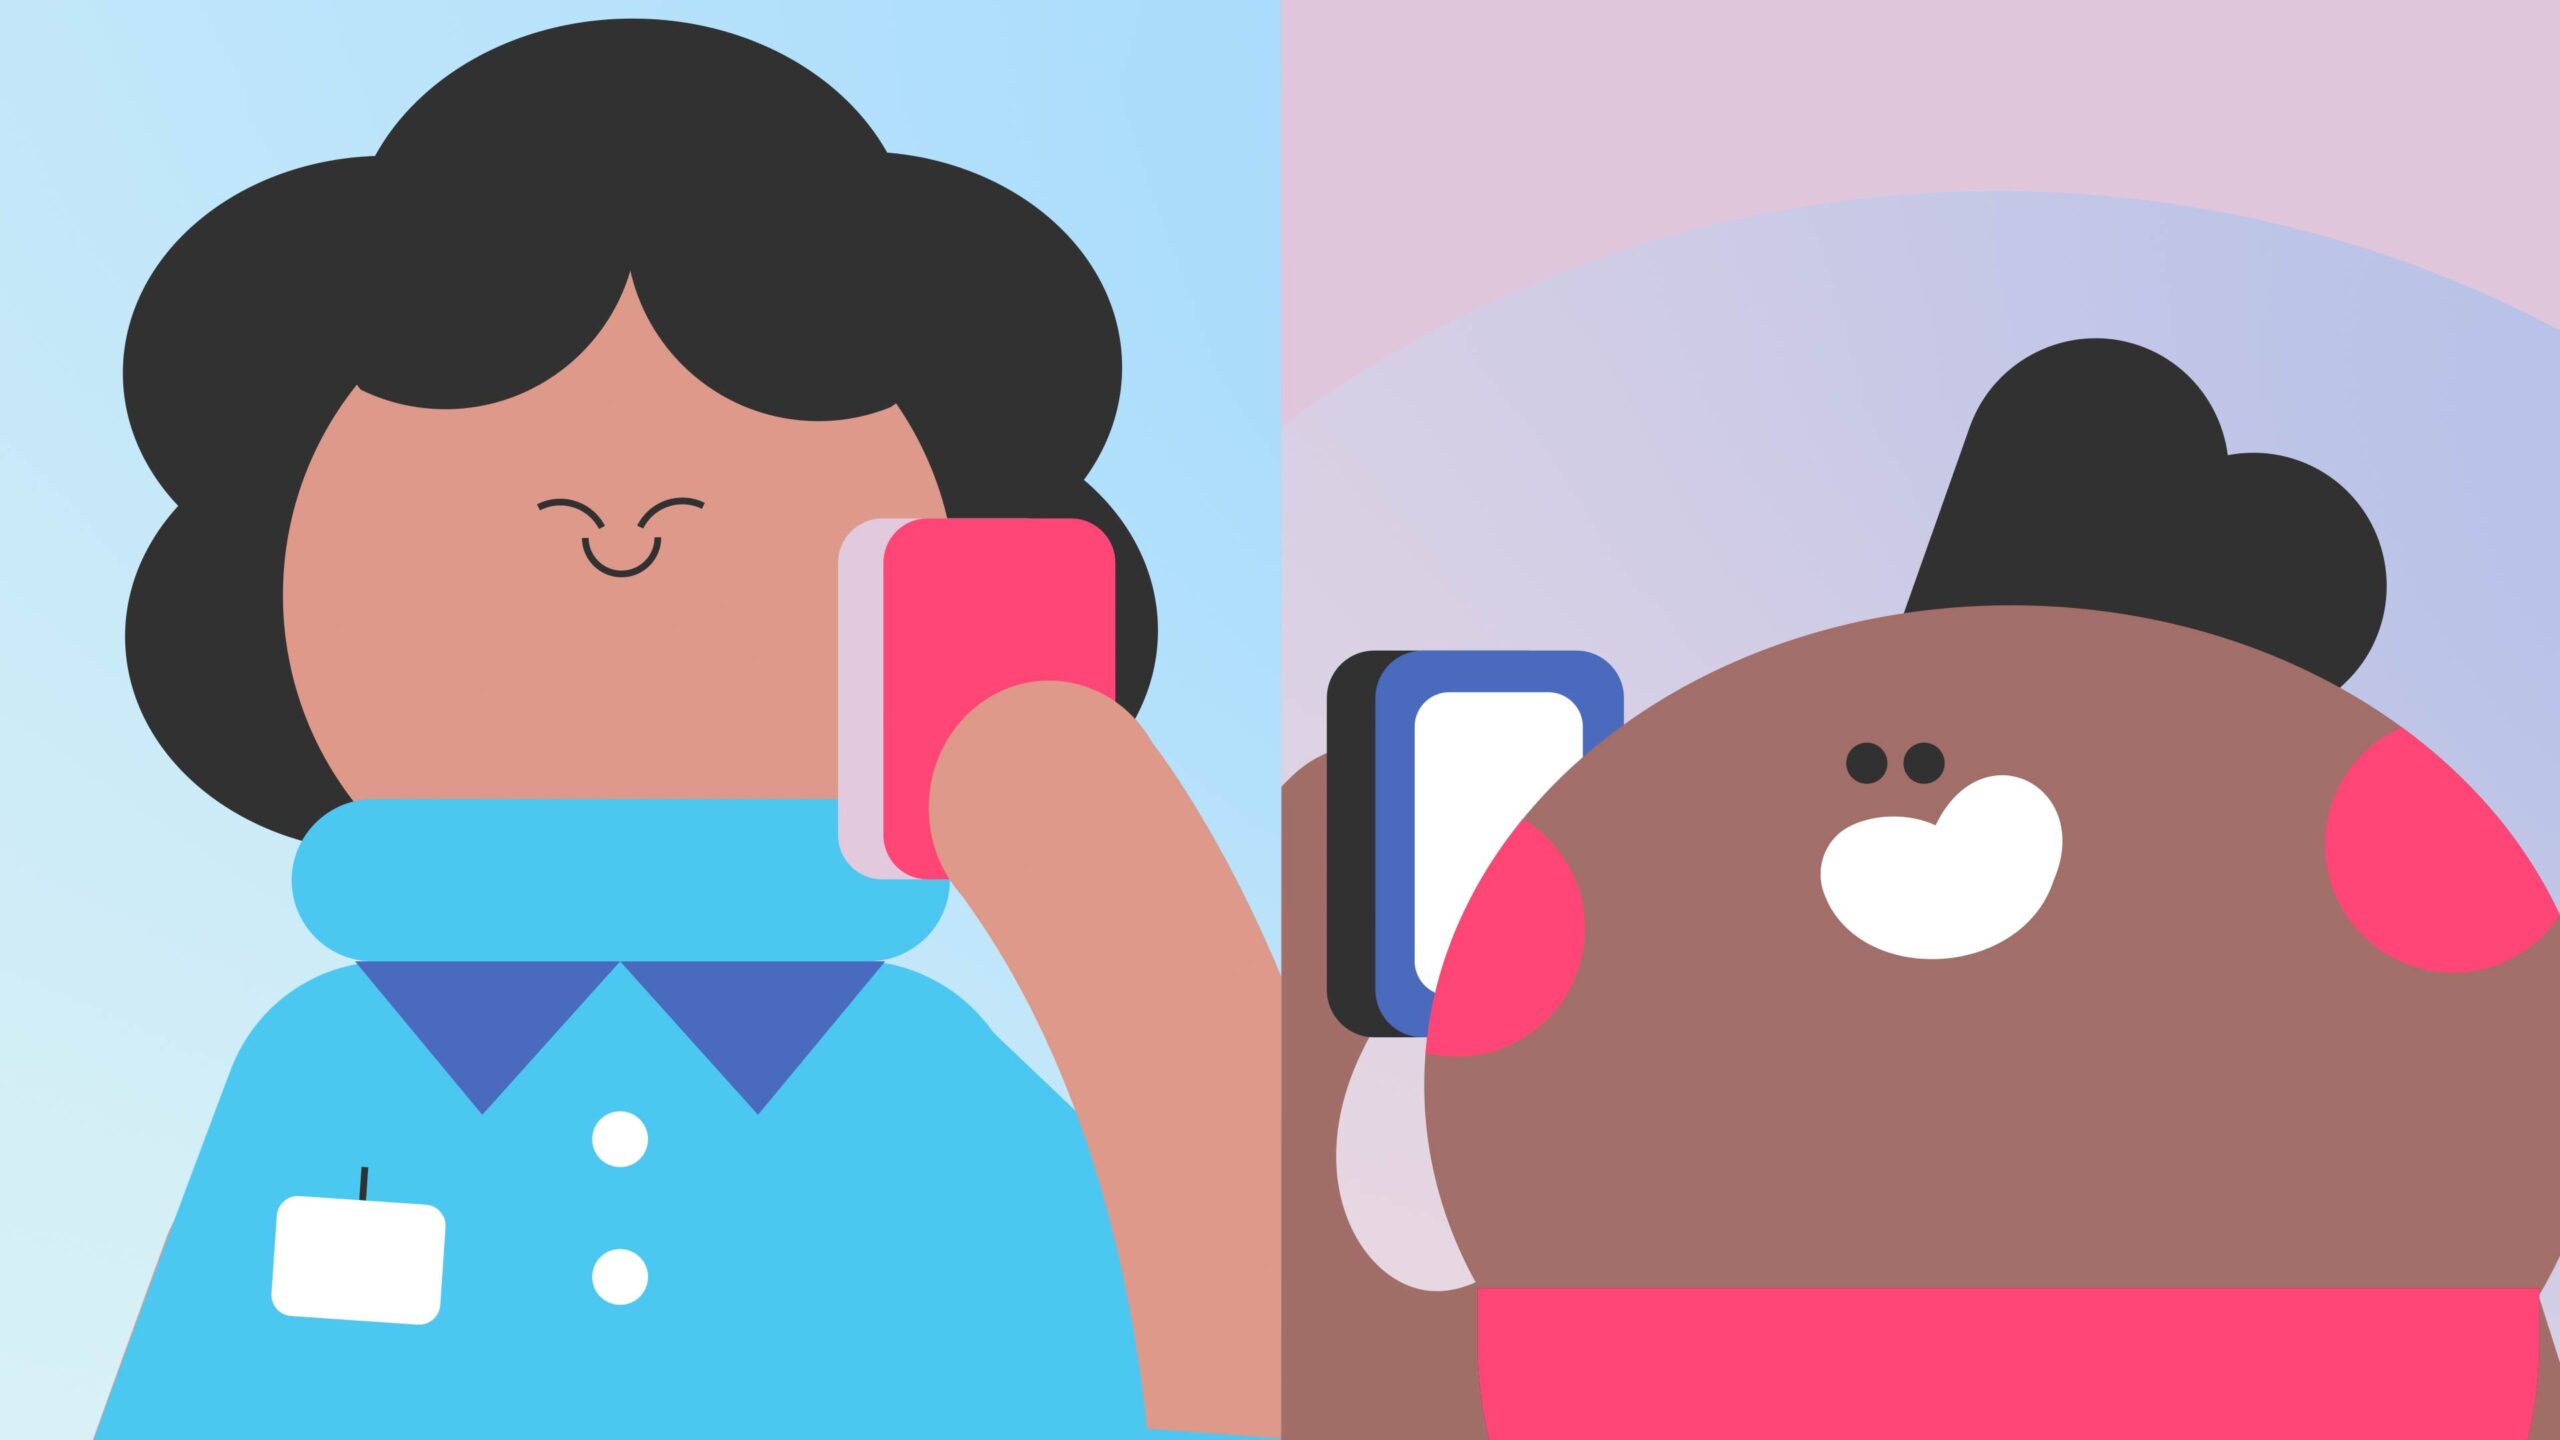
Once we received approval on the script and a rough storyboard, Federica and I worked on developing the video’s design. As a first step, we created a set of characters that was inclusive and represented the demographic audience that the video was targeting.
While the video was a Google initiative, it wasn’t obligatory to incorporate brand references. Thus, we had freedom in color selection. Opting for a palette that didn’t come across as overly medical, we aimed for an aesthetic that was both reassuring and friendly.
Once we got an ok to go on the illustration style, we redesigned the illustration of the rough storyboard we shared earlier and we finally started animating.


4. Navigating Ongoing Feedback
A project of this complexity, involving numerous stakeholders, inevitably leads to feedback at various stages of the process. To manage this, despite the potential for more expressive characters through traditional animation, we opted to animate everything in After Effects. This decision allowed us to handle any necessary changes more efficiently.
Indeed, on many aspects of the video, there were interventions and exchanges of opinions among the various health ministries involved, whose decisions then influenced the animation. One example above all is that until the very last moment, there was indecision about whether the characters should wear a mask or not. For this reason, we had to set up all the scenes in a way that with a few clicks, it would be possible to add or remove it.
I brought in talented animators Stefano Agabio, Gabriele Calvi, and Stefano Meazza, all of whom I frequently collaborate with. I initiated an animation test to provide them with guidance for animation consistency throughout the video. By dividing the video’s four-question composition among four animators, we expedited the animation process, enabling us to be more responsive to changes.
Here is the final result:
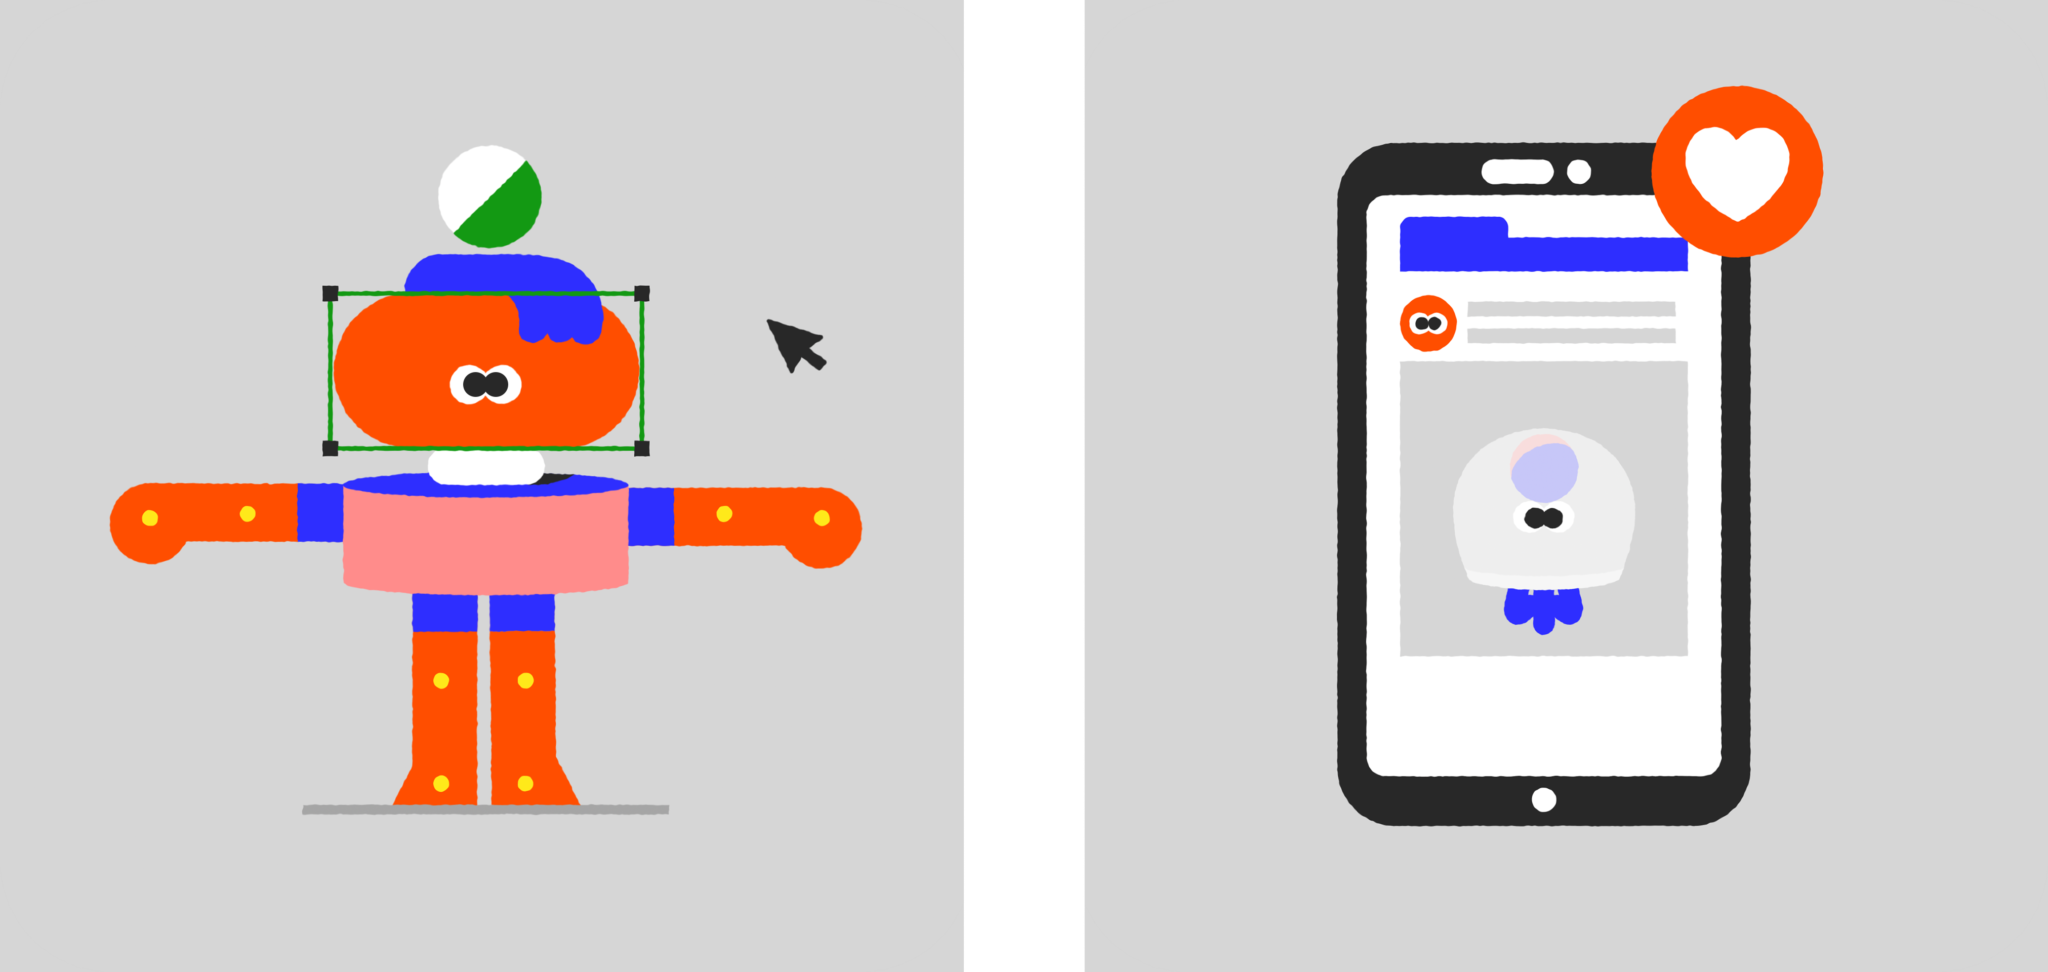
Testing interactive animations
Last but definitely not least, I’m super excited to share this recent interaction test I whipped up using Rive. Even though I haven’t had tons of chances to play around with motion design for UX before, this whole thing really gets me pumped because I think it’s where the cool stuff’s gonna happen down the line.
So, diving into this little project gave me a taste of how to make things interactive. I cooked up this detailed flowchart that connects different states for the character, helping me wrap my head around how everything flows. And, I managed to put together an animation that could potentially work in a product.